STRUCTURED CABLING TIPS AND TRICKS
STRUCTURED CABLING: 4 EXCLUSIVE TIPS AND TRICKS YOU NEED TO KNOW
While there are many things that you may learn as you go in the Structured Cabling Business, our Senior Technicians always try to pass along their knowledge whether it is to a trainee, our exclusive YouTube Tutorials and Tips, our Knowledge Center or even our exclusive blog series!
Types of Ceiling Encounters
There are multiple different work environments that a structured cabling technician will encounter day to day. But on top of that, there are a few different type of ceiling types that will determine what type of equipment and/or cable management will be needed. In addition, the ceiling type will also determine your cable pulling strategy and team coordination.
Some of the types of ceilings and things that will be utilized along with them consist of:
- Open Ceiling: Use of J-Hooks, Cable Slings, Bridle Rings, D rings and/or Wire Ties
- Enclosed Ceiling: Use of Conduit, Floor Ducts, Walls, Inner Ducts, Cellular Floors and/or Columns
- Confined Locations: Use of Cable Trays, Perimeter Raceway, Furniture Raceway and/or Power Poles

Bonus Tip: Install J-Hooks four to six feet apart for maximum advantage.
Network Cable Pulling
Before your cable of preference is even touched, there are many things to consider in regard to cable pulling. Ranging from the pathways that you will take down to the boots that are on the ground to help make it possible!
Pathways: While there can be many names for the types of pathways to plan, the Bridge Cable team utilizes two common phrases: “Streets and Avenues” and/or “Arteries and Branches”
- Ultimately the end goal for these phrases is to signify your main trunk of cables that will be ran throughout your project and ends up at your IDF or MDF (Streets or Arteries) vs. the cables that will be splitting off for your end locations (Avenues or Branches). It is suggested to run cables in a very clean, straight and as close to a 90 degree angle as possible as running cabling diagonally can not only look very messy and not professional but can cause issues later on.
Running a String Line: There are multiple ways to run string prior to running you cables. By doing this it will assist later on when working with your cables, especially if pulling multiple at a time! Some of the common string line methods are: Tape Toss, Fish Tape and/or Fishpole.
Setting up a Fishpole for a String Line Pull: This particular method is a Bridge Cable go to and we wanted to share some of the tricks to best utilizing this method!
- Grabbing the end of the pole, take the string that is coming from your bucket and create a half knot. Slide the half knot over the end and pull it tight. Repeat this step once more and then secure the string with electrical tape by wrapping it around the pole and end close to the end of the pole, but not all the way. Before ripping the tape, “be a friend and leave an end.” What does that mean? Pull the tape back down the pole and then rip the tape. By doing this, you are leaving a defined end of the tape so that the person that will need to remove the tape knows where to lift up at instead of spending time trying to search for it. We’ve all been there and it isn’t pleasant.
Types of Pulling: Some of the common methods are: Far Point, Pull feed, Pull Back, Push Pull, Drop Back, Coil Feed and/or Coil Toss.

Labeling
There are many different labeling methods. Some projects may have a specified label preference for each end such as a wraparound label or a flag. However, while you are pulling cable, one of the quickest methods is using a black Sharpie. If doing so, be sure to keep your duplicate labeling writing 12-18 inches apart. In addition, it is very helpful to give two line swipes on the opposite side of your label markings so that when the cables are pulled and someone is trying to find the label marks, they can locate it easier even if they are looking at the side without the cable name or number.
Bonus Tip: Put identifiers under ALL numbers to ensure which is right side up. We all know the struggles of telling a six or a nine apart.

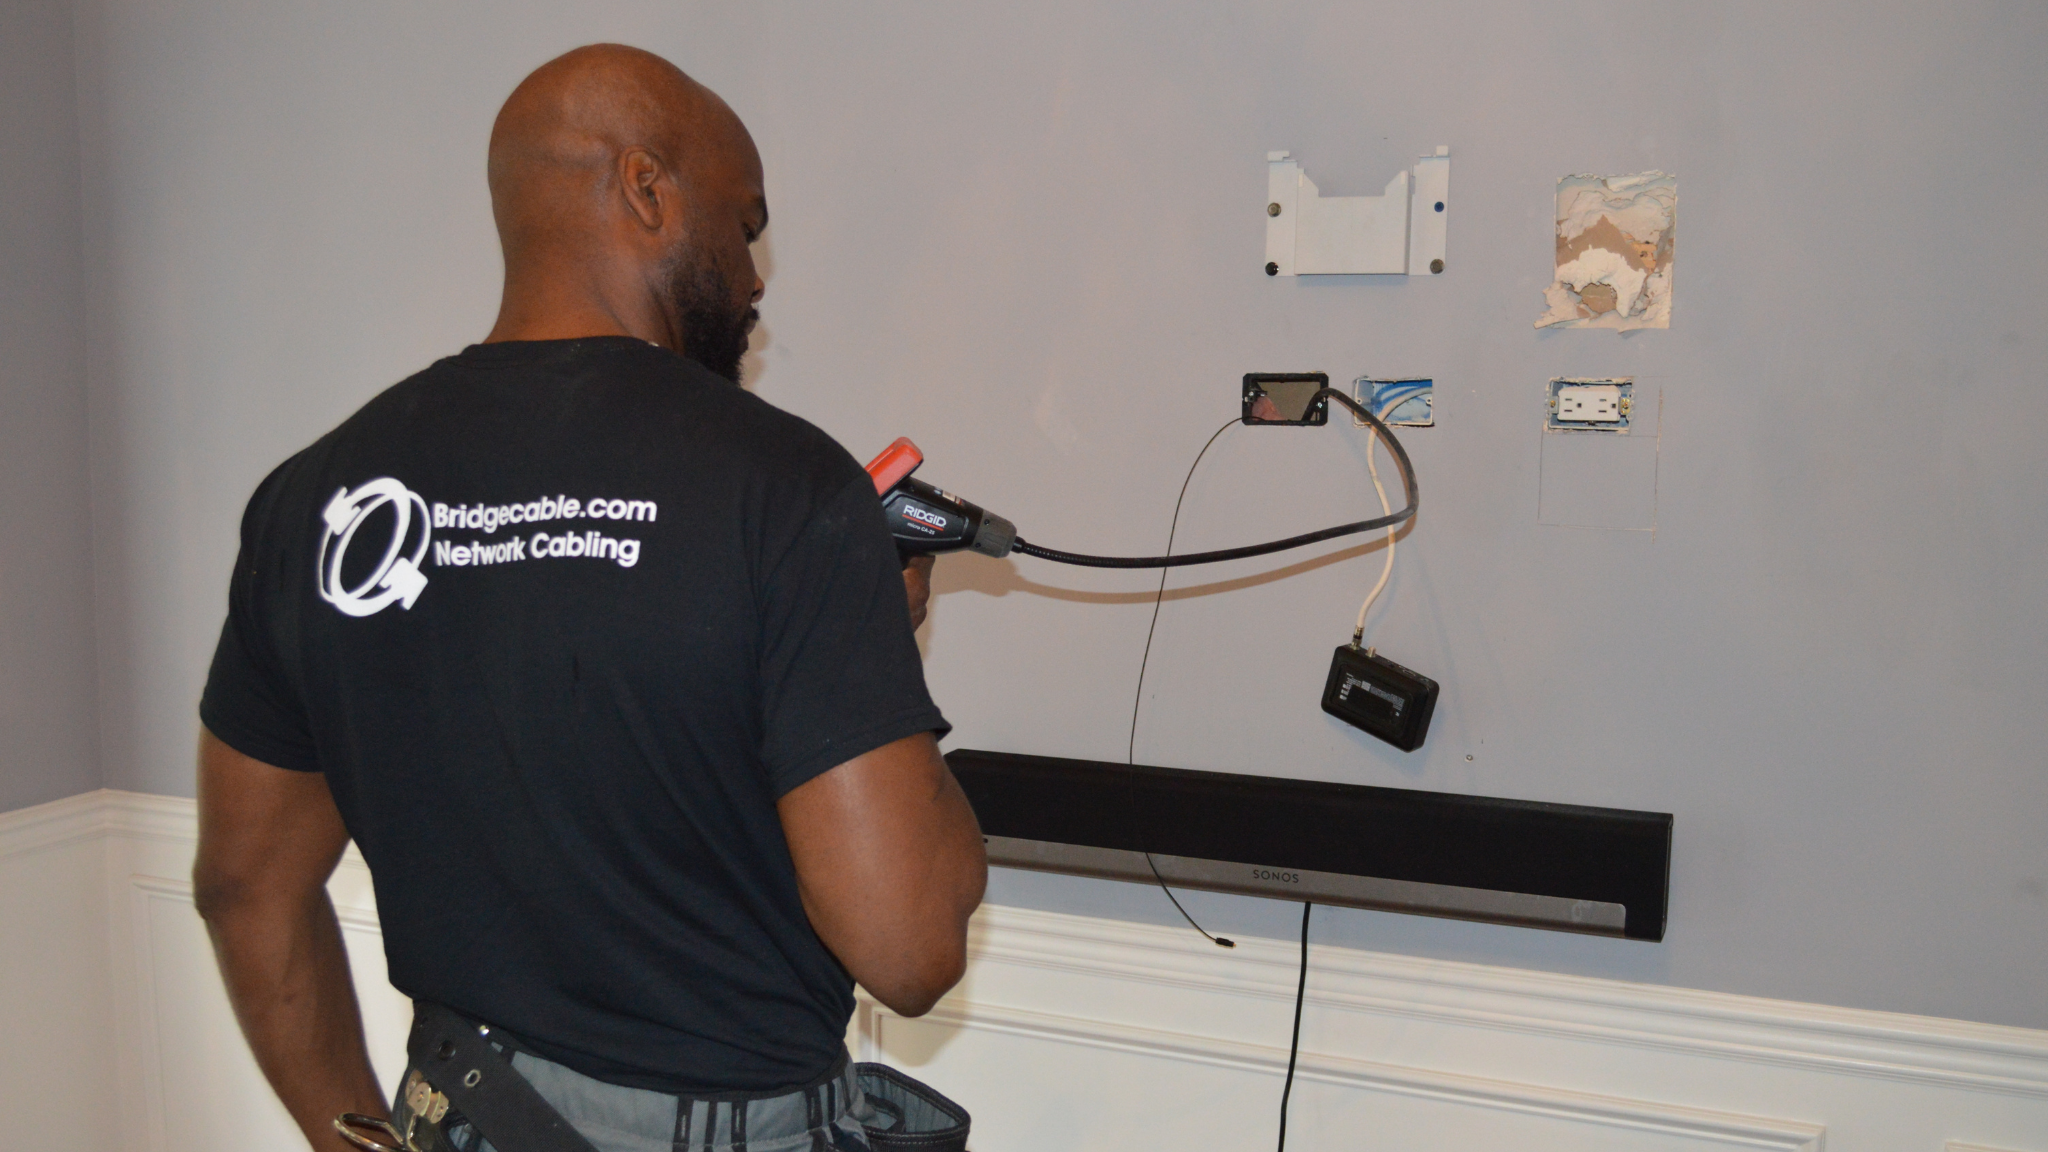
How to Install a Grommet, Buttons, and Colorado Straps
A grommet is utilized to help protect structured cabling from being damaged from the sharp metal edges in wall frames. Prior to the sheetrock being put up, to run your cables to the end locations, one would drill a hole at the top of the horizontal beam (closest to the vertical beam where your end location will be). After the hole is made, insert your grommet. The next step is to install either buttons or Colorado straps down the vertical beam. These installations will keep your cables tight against the vertical beam and also help lower the chances of the cables being damaged while the walls are being completed.
Bonus Tip: When installing buttons, it is recommended to have one at the top, one in the middle and one at the bottom.

Yes, this is just the icing on the cake when it comes to tips and tricks. Visit our website or social media for even more helpful knowledge!
Give us a call today at 877-832-1206 to book your Network Cabling project today!
Related Posts
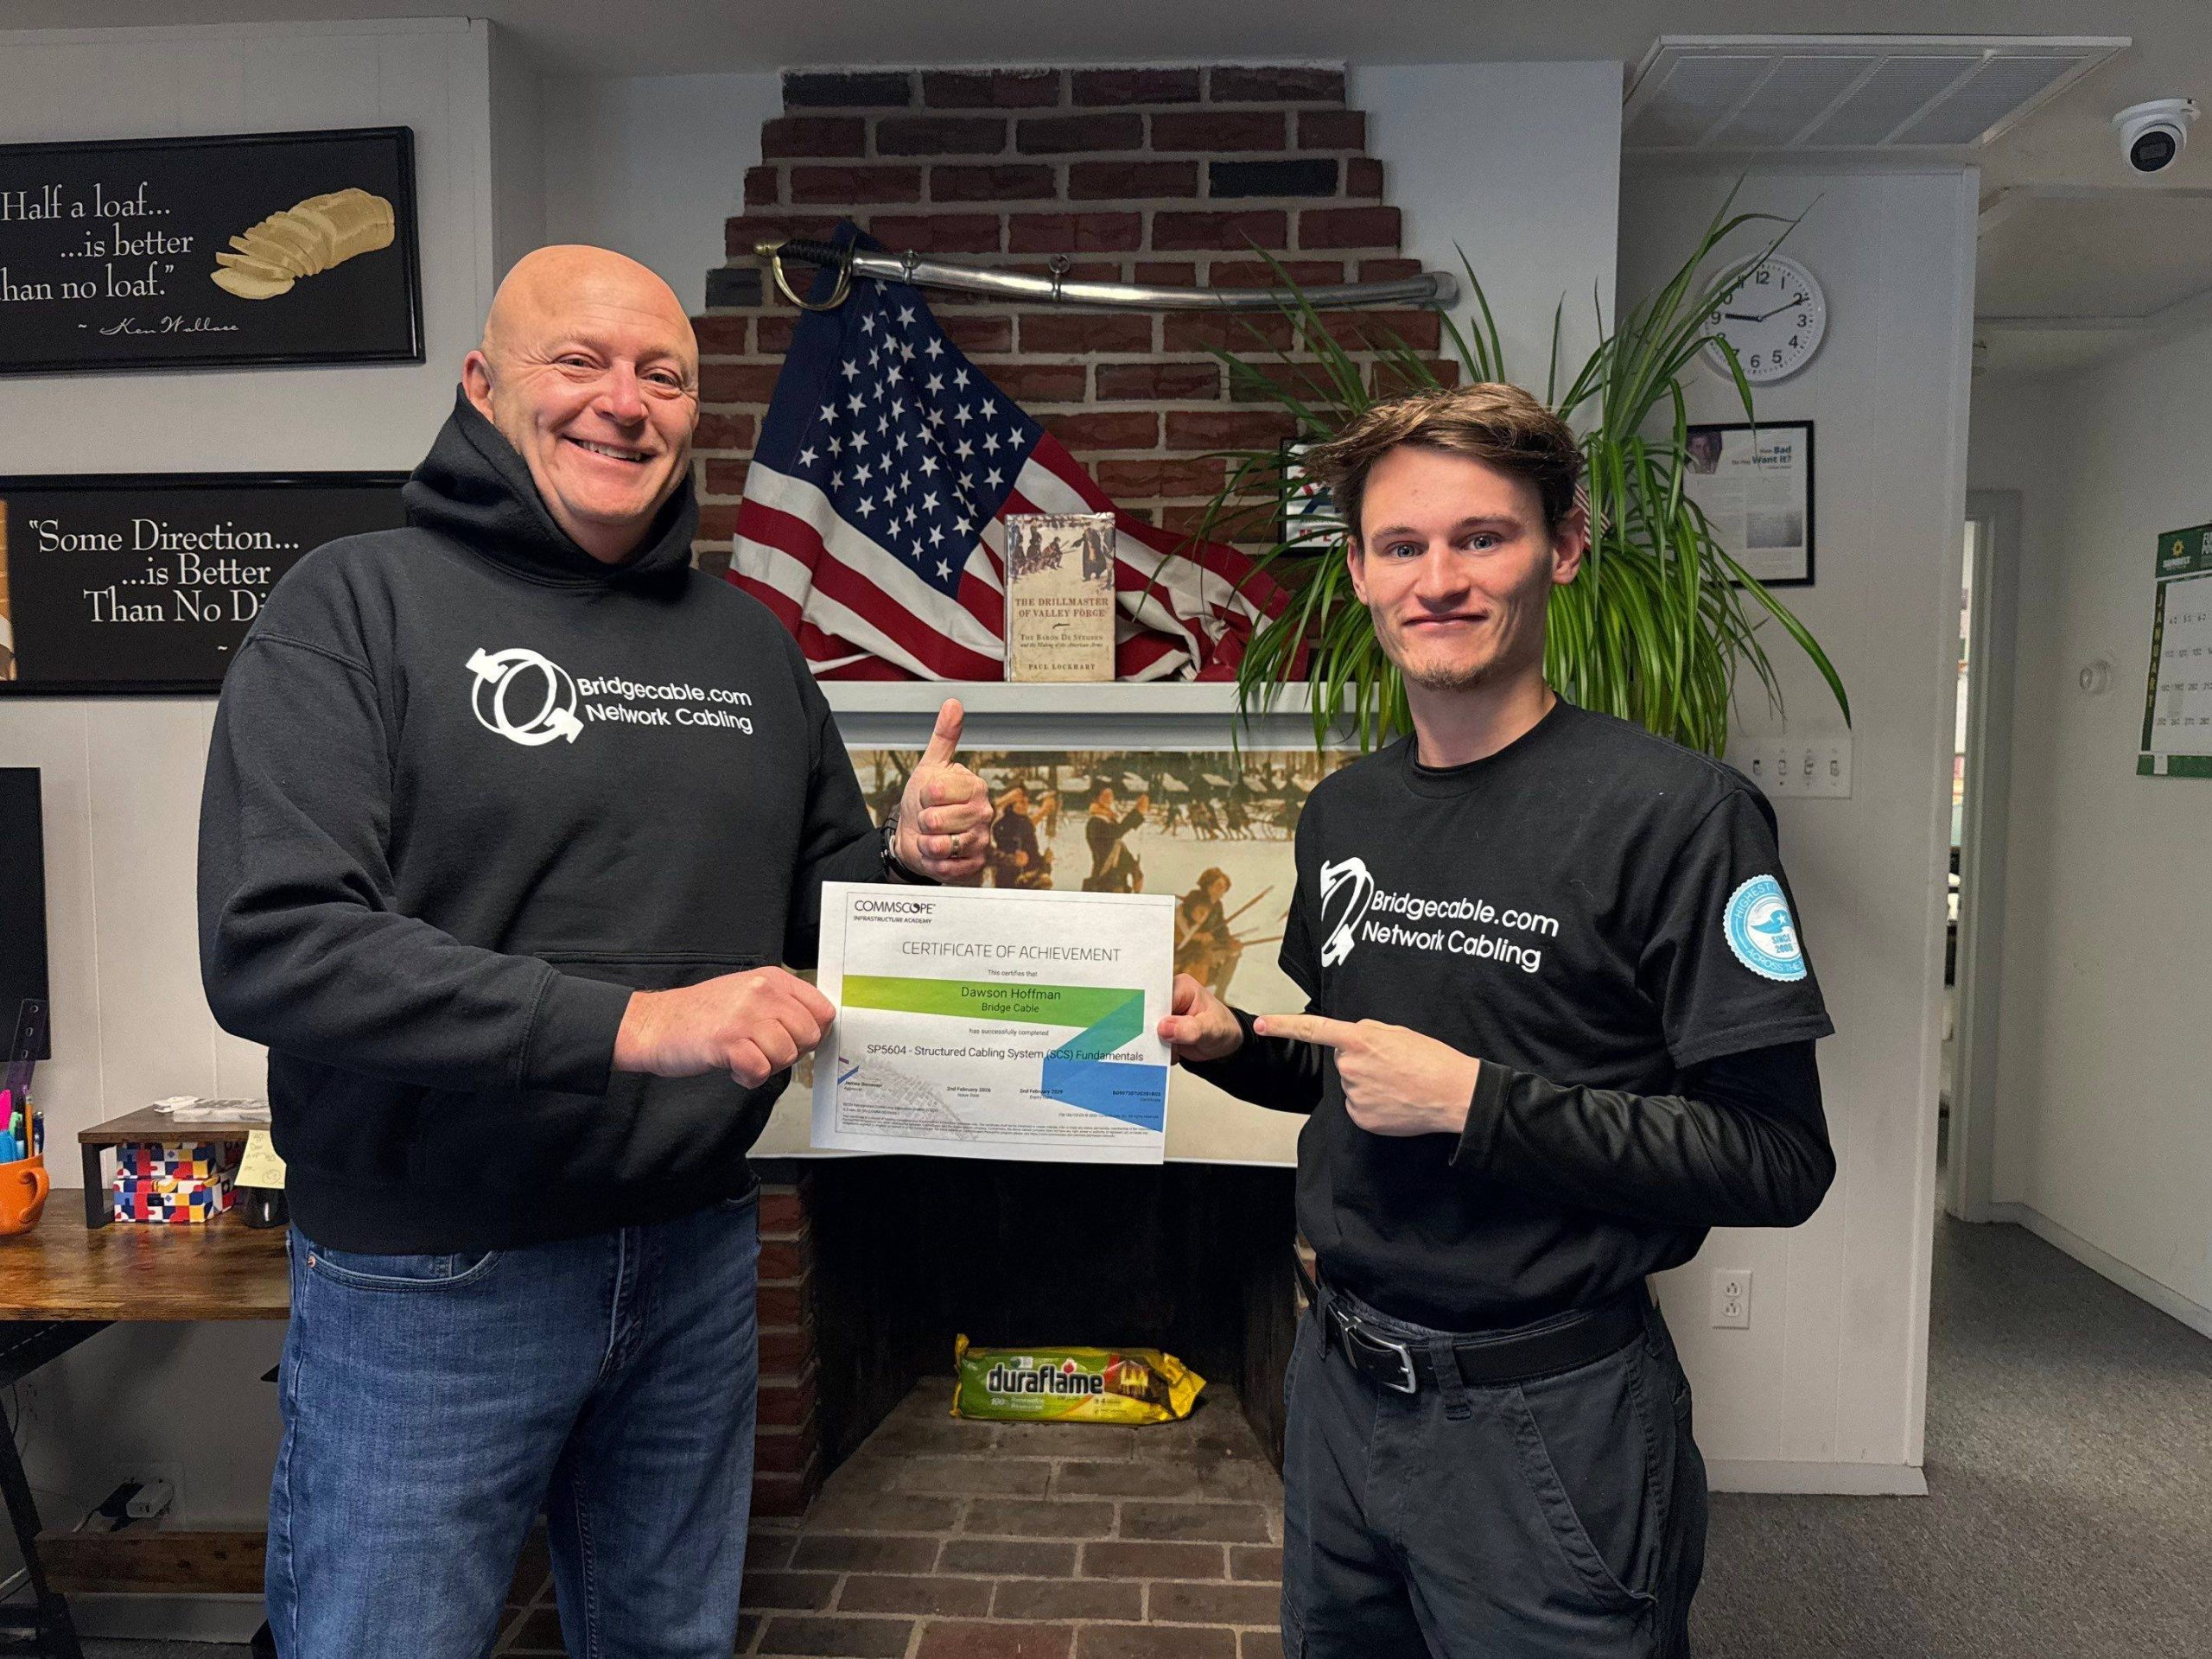
Why CommScope Certification Matters for Network Cabling
How Low Voltage Wiring Supports Smart Home Technology