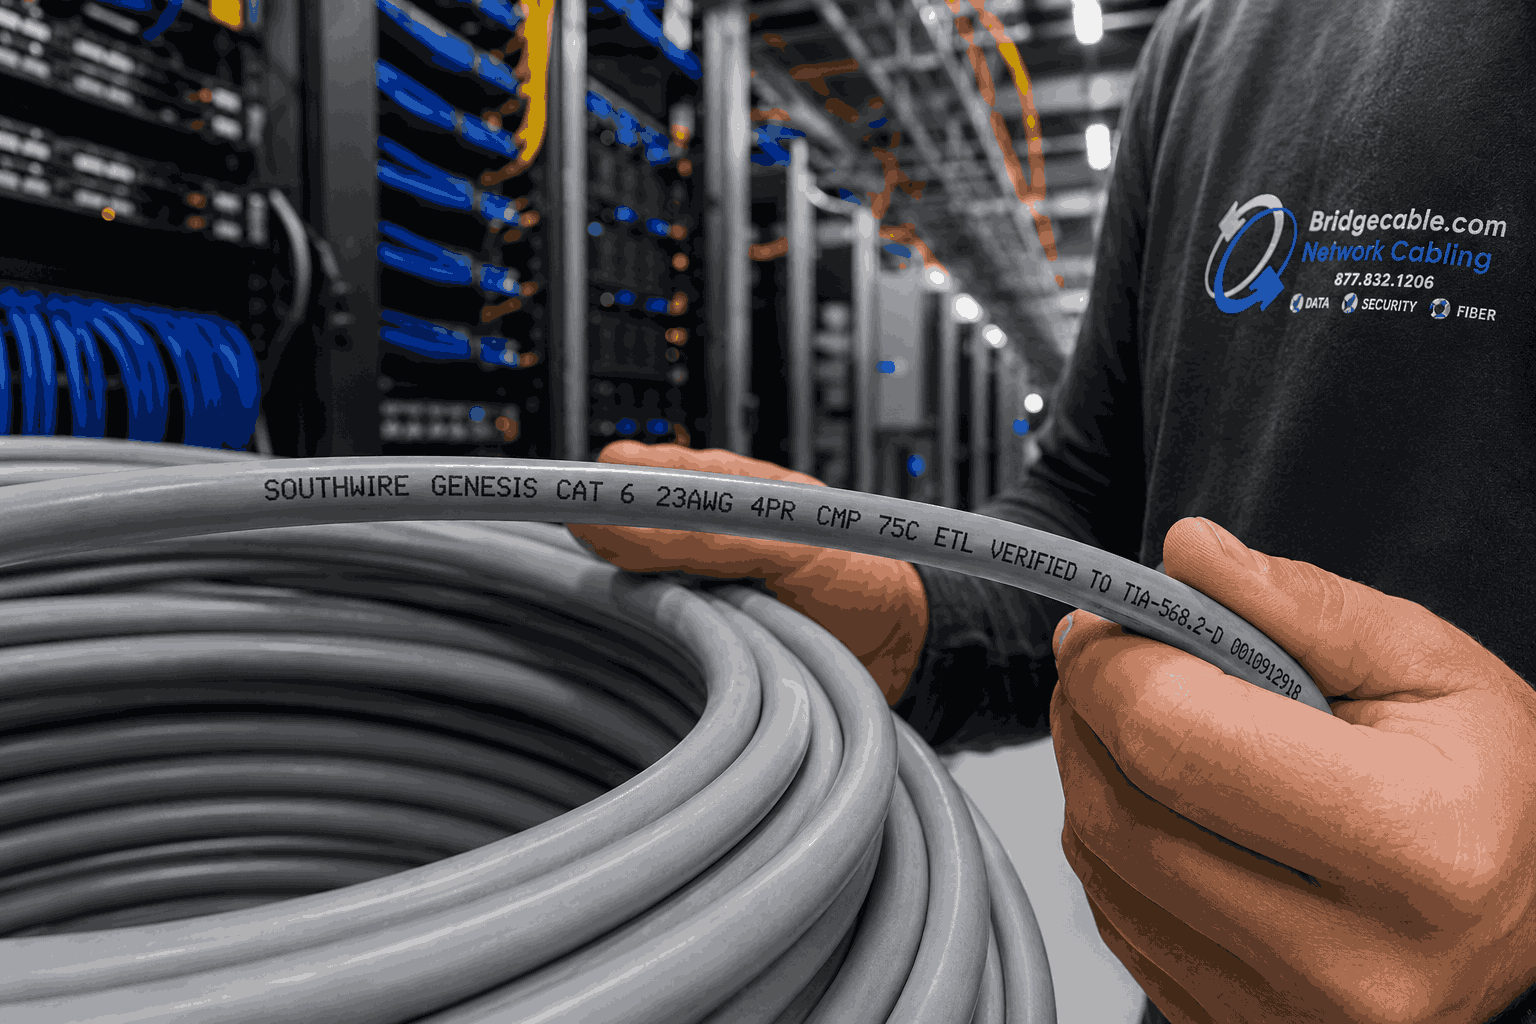
Installing Connectors on Twisted Pair Cable
 Twisted pair cable is the most commonly used type of cable within today’s structured network cabling systems and the two main types of connectors associated with this network cabling are the RJ-11 and RJ-45 connectors. The RJ simply stands for Registered Jack while the numbers 11 and 45 relate to a number of the interface standard.
These two types of connectors are fairly similar and are made of plastic with thin metal pins. The simpler smaller version of the two is the RJ-11 with two conductors and a standard six-position connection within it. The RJ-11 was in the past the choice of connector used when installing telephone applications within both commercial and residential properties, though is normally now only used in the latter of the two.
The RJ-45 connector is now the commonly installed connector especially in commercial structured network cabling systems and is slightly wider than the two with an eight-position connection and four conductors. Both the RJ-11 and RJ-45 connectors come in two versions to accommodate both stranded and solid conductors.
Twisted Cable Wiring Standards
If you look at the end of a standard UTP cable you will see four pairs of differently colored wires that are either; green, orange, blue, or brown. Within each pair, one is a solid color whilst the other has white stripes. These cables can be wired in two different ways and they are called T-568A and T-568B and the latter is the most common. Below are the two different wiring standards:
568A
- White/green
- Green
- White/Orange
- Blue
- White/Blue
- Orange
- White/Brown
- Brown
568B
- White/Orange
- Orange
- White/Green
- Blue
- White/Blue
- Green
- White/Brown
- Brown
Twisted Pair Cable Connector Installation
 The primary method used to put these connectors on twisted-pair cable is by crimping and though the procedure is fairly simple, it is an essential skill that every network cabling installer should know how to do properly. The tools you need for the job are obviously the cable and connectors and a stripper, a pair of crimpers, and a cable-tester to check the quality of the connection.
The cable-jacket stripper is to strip the outer jacket off the cable and a cable-connector crimper connects the cable by pushing the metal contacts within the connector onto the cable’s conductors.
First, you measure and cut the cable that you want to add the connector to, making sure you cut it around 3 inches longer than needed.
Next, you want to strip around 1.5 inches of the cable jacket, so insert the cable into the stripper and rotate it around the cable twice to cut through the jacket. Then carefully pull the cut piece of jacket from the cable to expose the inner conductors. If there is a white slitting cord present on the jacket then trim this back.
Now that you have exposed the conductors of the twisted cable you will need to untwist the pairs and separate each of the eight colored wires. Then line each of the individual wires so that the color code matches the standard that you are using.
Next, trim the ends of all the connectors so that are all even and short enough that when the cable is inserted into the connector the cable jacket is also partially inside.
Finally, precisely insert the conductors making sure that they are all properly aligned with their respective pins. Now carefully insert them both into the crimping tool and firmly squeeze the handle down holding it for around three seconds. The dies within the tool will then press into the connector pushing the pins into the conductors and pushing a plastic retainer into the cable’s jacket.
Once you have crimped the connector double-check that all the conductors and pins are crimped properly to their respective partners. If they are not you will have to cut off the connector and do the process again.
Last but not least you will need to test that the connection has been made properly with a cable tester and there is a different procedure to follow depending on the type of tester that you are using…
Watch this great little tutorial video of one of our Bridge Cable Technicians putting an RJ45 connector onto the end of a Cat 6 Cable.
Related Posts

How Structured Cabling Supports Podcasters and Live Streamers
How to Read Genesis/Southwire Cable Part Numbers: A Complete Guide by Bridge Cable